Learning Center » Expert Blog Series
8 Tips for Winterizing Your Home
1-800-HANSONS operations manager Justin Hickey discusses the most important actions homeowners should take to winterize their homes.
It feels like I have spent my entire life in the home improvement industry. My dad had his own contracting company, and I went to work for him as soon as I got out of school. Between his business and my work with 1-800-HANSONS, I’ve been a part of 4,000 to 5,000 projects.
It’s always fun to work with homeowners who are upgrading their homes, but it’s a much different situation when a homeowner is dealing with a problem. Some things like storm damage are unavoidable, but others, like burst water pipes, can be prevented by properly winterizing your home.
We all live very busy lives, and who really wants to spend their free time working on their house?
But a little preparation now can save you a big headache in the future.
Why should I winterize my house?
One of the top reasons you should spend time winterizing your home is to save on heating costs. It can be expensive to heat your home in winter, especially in places that have cold temperatures and a lot of snow. Doing things like cleaning window seals and checking your home’s caulking can ensure that your home is as airtight as possible.
Another reason to winterize your house is to prevent damage that can be expensive to fix like burst pipes, or have health repercussions like carbon monoxide poisoning.
When the risks are so high, it’s important to make time to do these tasks, many of which are very simple.
Winterizing home checklist
Completing these eight winterizing home steps will protect your home and give you peace of mind all winter long.
1. Start with the furnace
Obviously, your furnace does a lot of heavy lifting over the winter, so it’s critical to make sure it is in good operating order before temperatures drop.
Your furnace heats air using gas, electricity, propane or oil and distributes the heated air throughout your home. Natural gas, propane and oil furnaces create carbon monoxide, which is vented outside through vent pipes. (Electric furnaces don’t create carbon monoxide, so they don’t need to be vented.) It’s critical that vent pipes are clear so they can remove carbon monoxide from the system. This is also why it’s important that every home has a carbon monoxide detector.
When you look at your furnace, notice where its pipes are going. Then go outside and look for the exhaust pipes on the exterior of your home. These pipes are often near the foundation of a house or can sometimes be on the roof. After you locate the pipes, look inside to make sure there are no obstructions like debris or bird nests.
If your home has a chimney, test the flue to make sure it opens and closes properly. If the flue isn’t operating correctly, drafts can enter your home. It may also be a good idea to have your chimney swept yearly by a professional.
Fall is also a perfect time to change your furnace’s filter. Check your furnace manufacturer’s recommendations regarding what type and what size filter to use. Changing filters regularly will keep the air in your home cleaner and ensure the furnace does not run harder than it needs to.
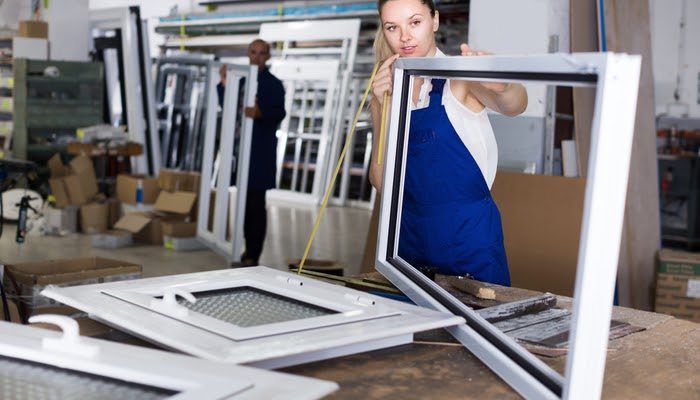
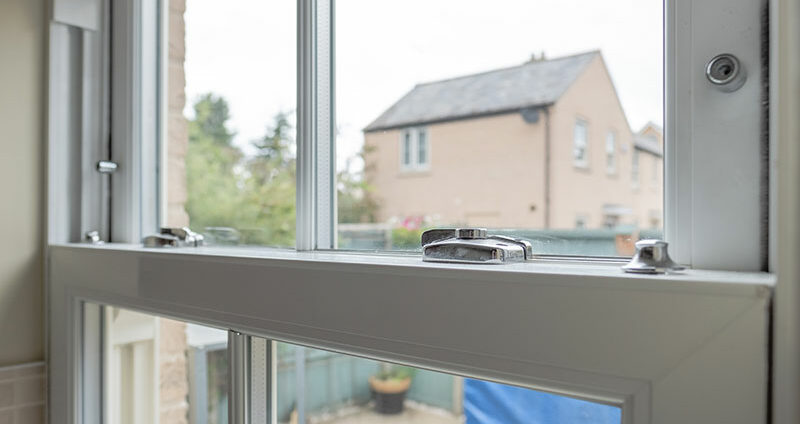
2. Check window and door seals
Window and door seals can be major sources of air leaks and can significantly raise your heating bill.
Over time, weatherstripping starts to fail and doesn’t hold a seal as well as it did when it was new. Wood windows expand and contract or swell with moisture, which can affect the seal. Seldom-used windows can also have poor seals. When windows are rarely opened, the seal can stick to the bottom of the window and peel, rip or tear when the window is opened. You can prevent this from happening by cleaning window seals and gaskets and applying silicone to them.
However, contrary to popular belief, most of the energy lost through windows is not due to poor weatherstripping. The construction of the window itself is even more important. The number of glass panes a window has, whether its frame is insulated and how the window was installed dramatically affect a home’s energy efficiency. And a home with many large windows that are not energy-efficient can significantly increase heating costs.
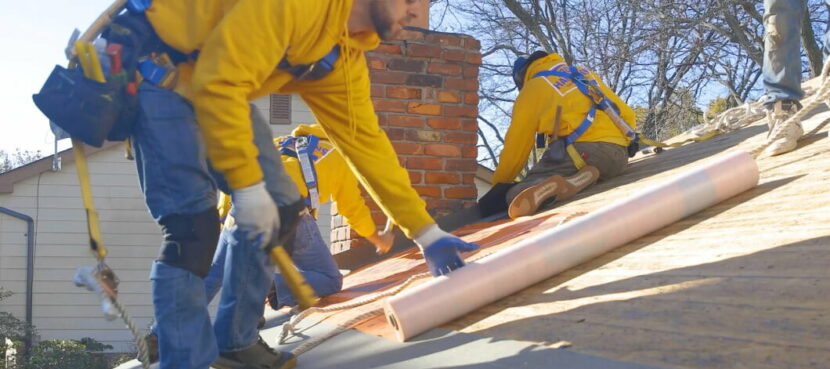
3. Check the roof using binoculars
It’s important to pay extra attention to your roof in the fall before it begins to snow. A homeowner can casually inspect their roof from the ground using binoculars. Look for any signs of wear and tear, including curling, cracking or missing shingles.
Also, check areas where something is protruding through the roof, such as furnace exhaust pipes, plumbing vents or dryer vents. Air, water and ice can get through openings, so if you suspect any of these could be damaged or blocked, it’s best to call a professional to inspect them closer.
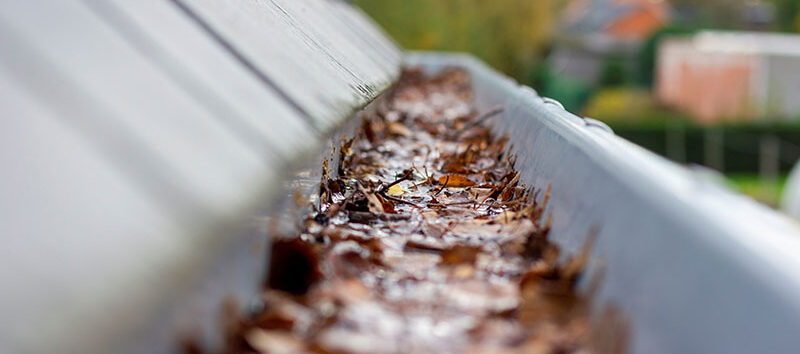
4. Clean out gutters
Fall is often a short season, but it’s critical to clean out your home’s gutters after leaves have fallen off the trees and before winter weather arrives.
Gutters without gutter guards can become clogged with leaves, birds’ nests and debris. Though clogged gutters do not cause ice dams, they can contribute to dams’ formation. An ice dam is a ridge of ice that forms along the edges of your roof in the winter. They prevent ice from melting and draining off of your roof. In turn, that can cause the structure of your roof to falter from all the weight of the snow.
You can avoid this problem by cleaning your gutters regularly, especially if you live in a wooded area.
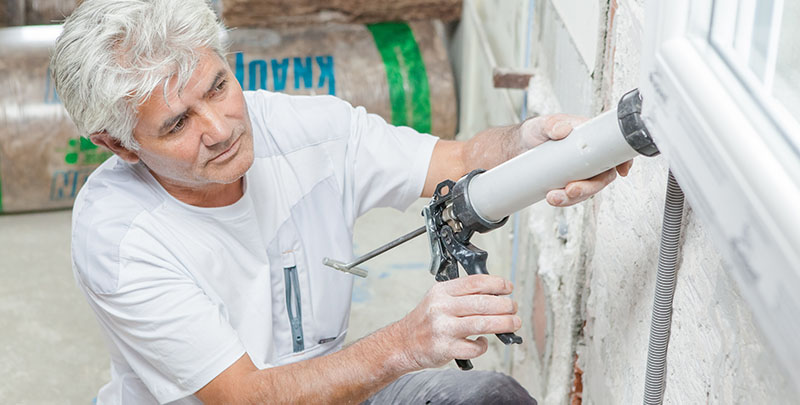
5. Inspect caulking
Caulking is used to seal gaps around any openings in exterior walls, such as doors, windows, vents and pipes. So, if the caulking peels, flakes or cracks, air or water can leak into your home. Walk around your home and carefully inspect all caulking to ensure it is in good condition. And from inside your home, feel around doors and windows to see if any air is coming in.
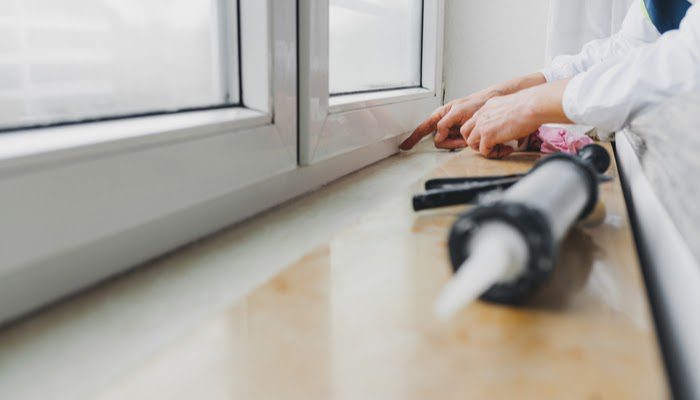
Deteriorating caulk should be removed and replaced by you or a licensed professional.
6. Care for air conditioners
By this point, you’ve already inspected your furnace to ensure it is ready to heat your home during the winter. But don’t forget to care for your air conditioner that worked hard all summer.
Air conditioners also require care to keep operating well, especially the condenser coils. These coils should be blown with an air compressor to remove debris, cleaned with a condenser coil cleaner, and rinsed off with water. We also recommend placing a cover over your air conditioner at the end of the season to protect it during the winter.
In-window air conditioners should be taken out and stored for the winter when possible. After removing, inspect the window and its seals to make sure it is still in good working order. If you are unable to remove the unit, inspect the seals as closely as possible and cover the unit before the temperatures drop.
7. Prep water pipes
The task most associated with winterizing your home is preparing water pipes. Any water lines located near exterior walls or a crawlspace under the home should be insulated. Heat tape can also be wrapped around pipes to protect them during cold weather.
It is common advice to leave a small drip of water running from the faucet to prevent pipes from freezing, especially in secondary residences like vacation homes that will be vacant in winter. However, we recommend shutting off the water and draining it instead to eliminate the possibility of a burst line. It takes only a few minutes to turn the water back on when you return to the home.
8. Disconnect and drain hoses
Draining water hoses is a winterizing task that can easily be forgotten when preparing your home, but it is too important to miss. Hose valves should be shut off, hoses disconnected from the hose bibs and any water drained out. If this is not done, any water left in the hoses can freeze, which can cause the hose to expand and damage the hose gaskets. This can result in a leak that you can’t shut off. If your hose bib cannot be shut off, purchase an insulated cover that is made to keep the hose from freezing.
When should you call a professional for help?
Deciding whether to call an expert for help winterizing your home can be challenging. On one hand, you want to save money when possible, but you also know that some tasks may be beyond your capabilities.
We recommend starting by inspecting an area yourself. Evaluate it the best that you can, but if you aren’t sure or have a gut feeling that something isn’t right, call a professional. Or if the appliance in question is expensive, call an expert.
If you do call a professional to come to your home, stand by them while they inspect the area. Ask them to explain what they are doing, and then maybe next time you can do it yourself.
Another sign that it’s time to call a professional is if you see a pattern. For example, if air is leaking through multiple windows, it may be more cost-effective to replace all the windows than attempt to fix the existing ones. It’s worth getting a quote to compare the two options.
What do I do first to winterize my house?
Trying to complete these tasks in your spare time may seem overwhelming.
The first step should be to create a checklist for your home because every home is different, and every geographic area is different. Get to know your home—your furnace, your windows, your roof, etc. Make a list of everything that must be done for each season and divide the tasks throughout the year. Then it doesn’t seem like so much to do at once and it enables you to spread out the cost.
Knowing all these areas have been inspected and addressed will give you peace of mind to enjoy your home all winter long.
Justin Hickey is an operations manager at 1-800-HANSONS. He has been with the company for 14 years and has worked in the home improvement industry for 24 years.
If you think you may need a new roof, windows, siding or gutters soon and would like a quote to evaluate all your options, contact us today to get a free, no-obligation estimate.
Get a Free Estimate Today
60% off installation. Special financing available. See details.
More About
Expert Blog Series