How To Paint Windows Like a Pro

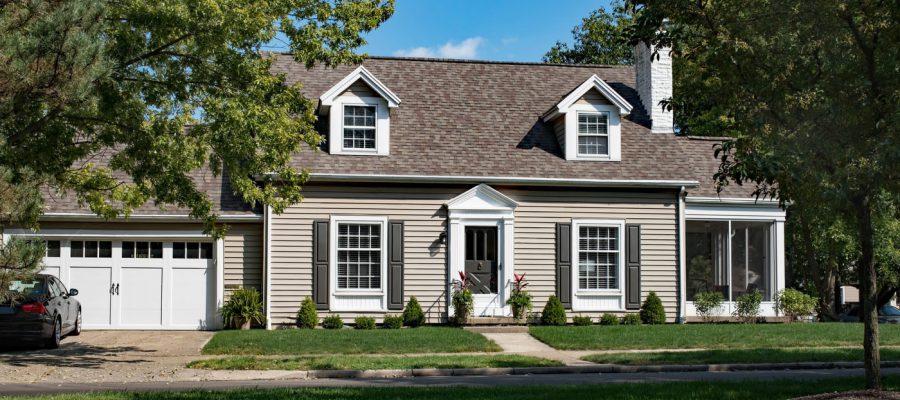
Windows are investments that will last many years with minimal maintenance. Many experts say that windows only need cleaning once or twice a year. You can, however, extend their use for several more by painting them every few years. These will give your wood windows a fresh new look and will add more personality to your space by adding new colors to your home.
Reasons to paint wood windows
There are several reasons why you should paint your windows:
- Paint protects the window from the sun, rain, and air.
- It keeps the insects out, which could cause damage to the rest of the house.
- Painting your windows seals cracks, and so dirt or water will not seep in.
- It also protects the wood underneath the window from peeling or cracking.
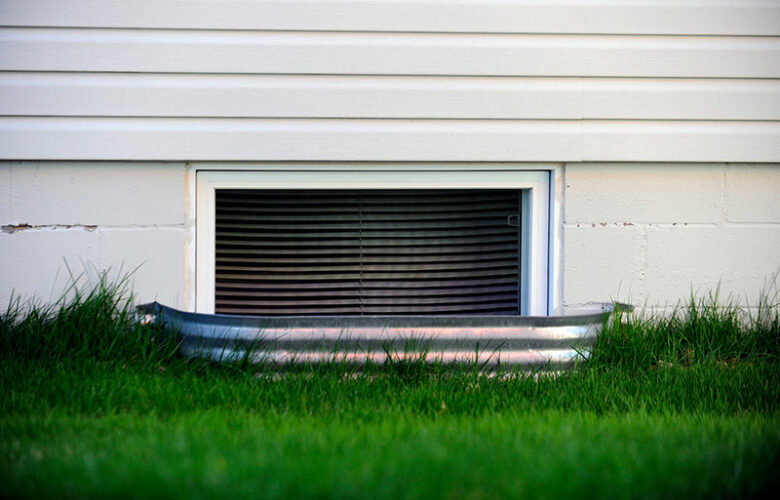
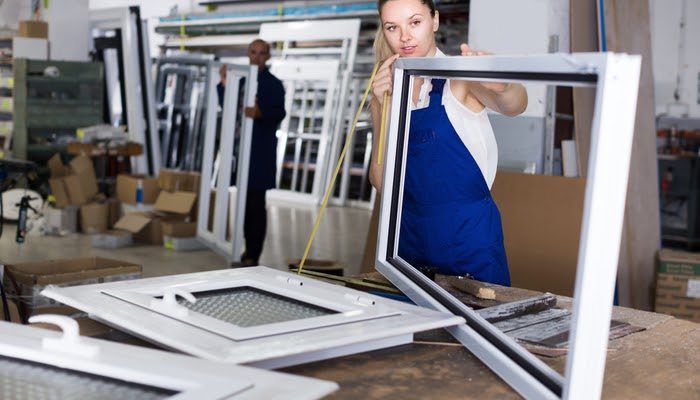
How to prep the window
Before painting your windows, you will need to ensure that the existing wood frames have no signs of decay or mold. If they do, then they will need to be replaced. If they are still in good condition, then you can proceed by following these ten steps:
Step 1: Before you can start painting, move or cover furniture that might get paint splatter. Make sure you are painting in an area with enough ventilation.
Step 2: Lightly sand the window surface to remove any stubborn dirt
Step 3: Make sure that the windows are clean. You may need a small toothbrush to get dirt stuck between the wood and the glass fixtures or even a vacuum cleaner.
Step 4: Seal cracks with fillers by marking all the parts of the windows that need more sealing so that you do not miss any areas.
Step 5: Cover the windows’ glass parts with old newspapers and tape the edges with masking tape. Make sure there are no openings where the paint may leak through onto the glass. If there are broken or loose glass beyond repair, this is the best time to replace them with newer window glasses.
Step 6: Remove the old hardware and sand lightly the area to remove any leftover residue. If you notice that the screws are already rusty, you may need to replace them with new screws or purchase new hinges and handles altogether.
Step 7: Carefully remove the weatherstrips with an all-purpose adhesive cleaner. The solution will be liquid, so make sure you are wearing gloves and have already covered everything that it might spill on. Let it dry for a few minutes, and then clean off the remaining adhesive.
When installing the new weather strips, whether foam, V strip, vinyl, or rubber, the adhesive foam type ones are the easiest to use. For windows facing strong wind prone areas, vinyl ones are the better option. Cut them to the correct length. For windows, you will need four pieces, one on all the sides. Carefully install them on the window, making sure that they are secure. You can staple them using a heavy-duty staple gun or hammer them into the frame for extra protection.
Step 7: Use an undercoat or primer before finally painting. The undercoat and primer will protect the wood, but it will also allow the final paint to stick better. It will cover stubborn stains and give your windows a smoother finish.
Step 8: Pick from various acrylic, latex, and enamel paints from your local hardware store. You can also choose colors that have a grainy, shiny, or matte finish. And make sure you get good quality synthetic brushes or paint rollers in different sizes. Low-quality brushes will leave loose bristles on your newly painted windows.
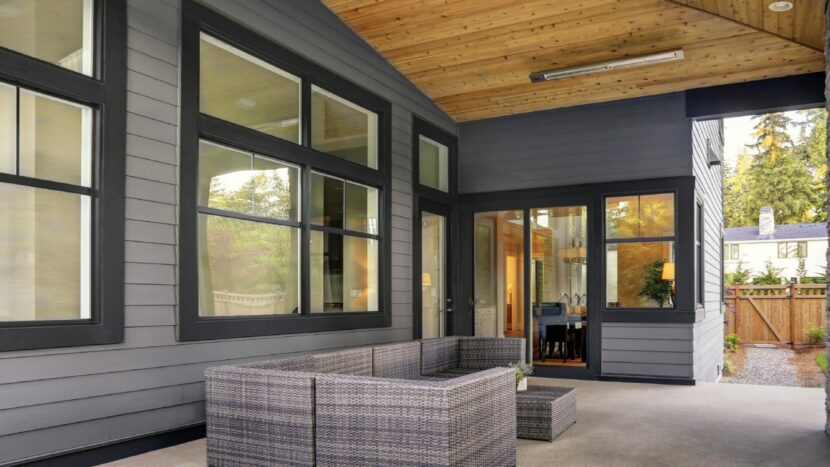
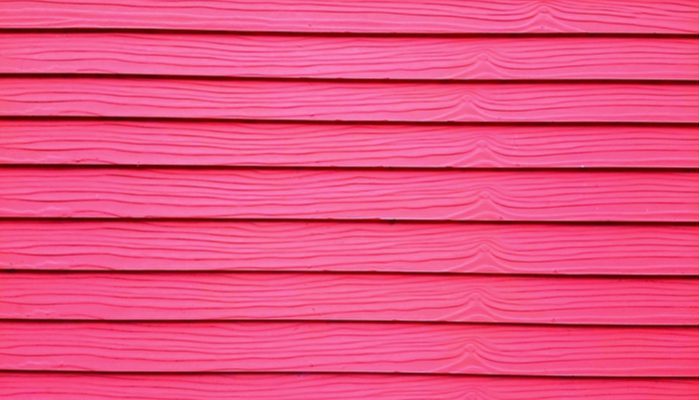
Step 9: Select the color for your windows. If your old windows were white, you might want to try a different color this time, like yellow, gray, or even green. Or if your old windows were not the same color as your main door, maybe you would want to match them this time.
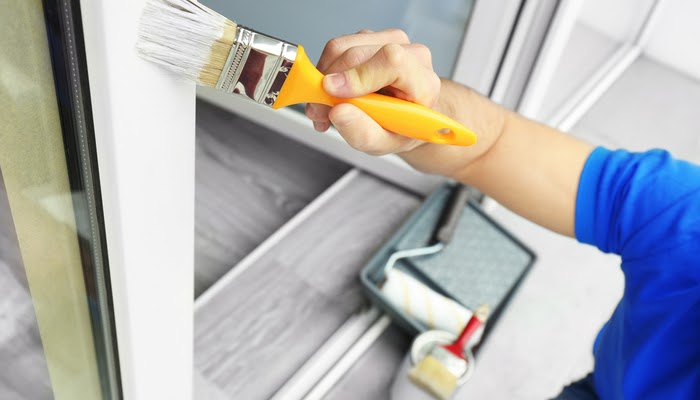
Step 10: Finally, you can start painting your windows. Your windows have two parts, the casing, and the sash. The window casing is the frame that holds the window sash. This part of the window does not move and is also considered the trim. The window sash is the part of the window that fits inside the casing and moves up and down to open and close.
If you want your windows to look like a professional painted them, paint the casing and the sash in two different colors, or the same color but in different shades. Another tip is to paint the bottom part of the sash first. While that part is drying, flip it over and paint the opposite side, and so on.
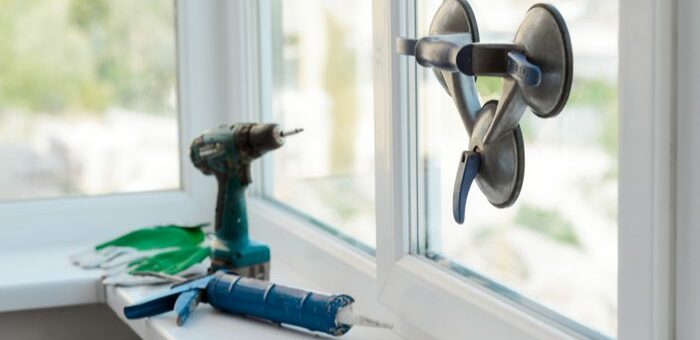
Equipment professional window painters use
Taking on painting your windows yourself will require you to purchase equipment used by professional window painters. There are several that are affordable and a few that will cost more.
Typically, you will need the basics – different sized paintbrushes, paint rollers, paint trays, sandpaper in various grits to smoothen the frames and edges, paint removal, wood fillers, scraping tools, and paint.
On the other hand, professional window painters will come equipped with those painting materials and few others best handled by the experts. For example, manually sanding wood can be time-consuming, but if you prefer to do it yourself, you will need to close up the open space with plywood while painting the windows.
DIY vs. hiring professional painters
Professional painters will come in teams along with an electric sander that will do the work faster. You will also have the windows painted using an electric paint sprayer or even an airbrush for those more intricately designed windows.
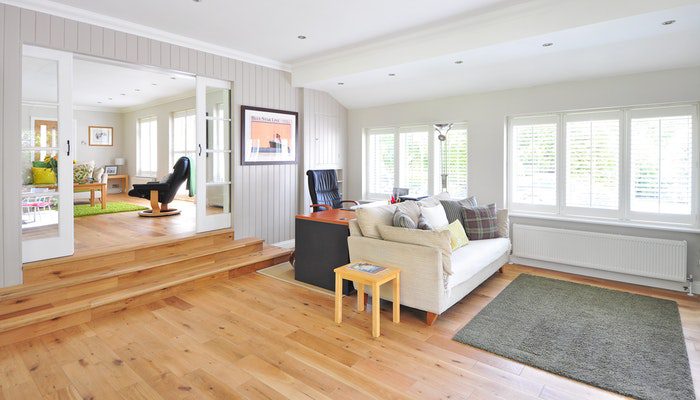
Redecorating and refurbishing your home can become expensive and time-consuming if you are unsure how to go about with repairs. Some home improvements can not be rushed, such as waiting for paint to dry and wood treatments. Other repairs have to be immediately attended to, such as plumbing leaks or mold growth. If you’re hesitant, it is advisable to leave that to the experts.
Are you thinking about a replacement window project? Feel free to contact 1-800-HANSONS for a free estimate.
Get a Free Estimate Today
50% off installation. Special financing available. See details.
More About
Windows