Roof Replacement: What Are the Basic Steps?
Hiring a roofing specialist for a roof replacement is an important decision. But to make an informed decision, it’s advisable that you also understand what a roof replacement project entails.
In large, a moderately-sized, professionally done roofing job will take somewhere between 3 to 4 days. The amount of time depends on several factors such as the complexity of the project, the weather conditions, and the crew’s experience.
What does a roof replacement project involve?
The first step of a roofing project involves removing all existing shingles and depositing them in a roll-off dumpster. Damaged or old valley flashing as well as drip edging will also be removed at this time. If you are dealing with a professional team, they will make sure to protect your plantings and shrubs during the roof repair process. And when they are finished, they will use magnetic tools to pick up nails and other metal objects from the lawn.
Get a Free Estimate Today
50% off installation. Special financing available. See details.
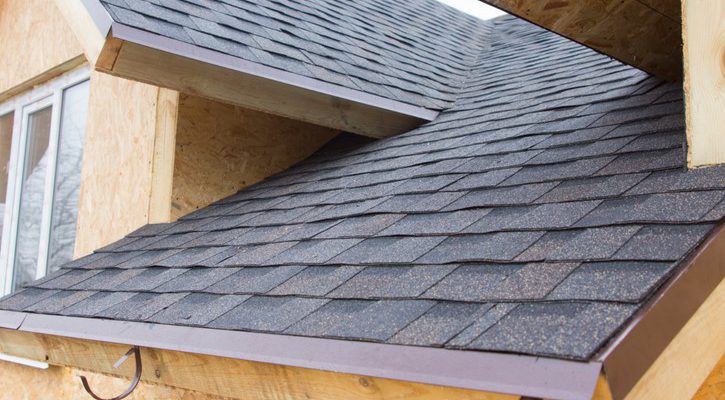
Removing old material and applying foundation material
After the shingles have been removed, the next step requires any minor fixes and repairs of the roof, itself. If the roof is in poor condition, however, the crew may need to replace any bad wood with new plywood sheathing boards. These boards come in various sizes, depending on your type of roof.
In some cases, the contractor may decide to install ice dam protection, which is a synthetic waterproof barrier. It is designed to prevent melting ice from backing up under the shingles and causing severe damage.
Following this procedure, the team will lay down asphalt roofing paper over the roof sheathing, which will create an inner barrier against water infiltration. There will be several overlapping rows of such roofing paper progressing upward from the base of the roof toward its peak. These are usually tacked or stapled in place.
The next step is to apply metal drip edging all around the edge of the roof. This edging is used on both the eave and gable sides. The metal drip edge will be nailed in place over the roofing paper or ice guard, depending on the circumstances.
Wherever necessary, the crew will also apply new valley flashing along the areas where two roof plates meet. The valley flashing is usually nailed to the roofing deck and sealed with roofing caulk.
Applying the shingles, flashing and ridge vents
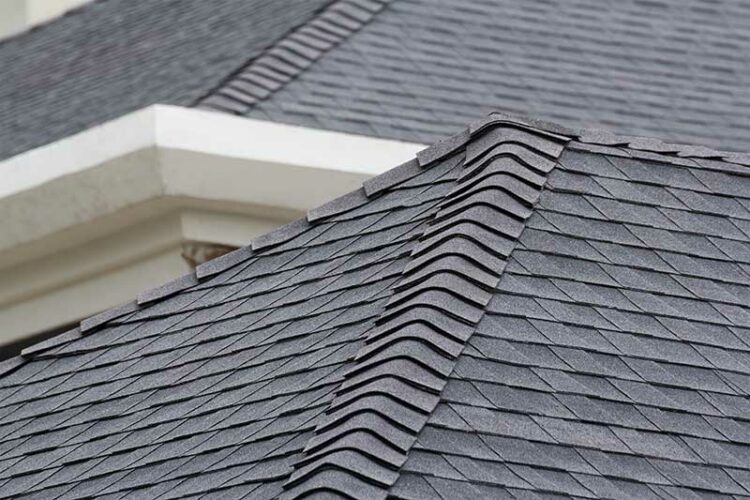
Once everything has been cleared away, and the new roof has been prepared, it’s time to apply the new tab shingles. This process starts at the eaves and works its way upward toward the peak of the roof. Any roof vents that need to be installed will be put in as the installation progresses upward toward the peak.
The next step is to apply flashing all around the areas where leaks may come into the house. This implies areas such as around the chimney and skylights, stack vents, etc. Flashing installation may take place right alongside the shingles. Finally, it’s time to install the ridge vent. The ridge vent is a continuous vent that runs along the peak of the roof, allowing air to circulate in the attic. Air circulation is extremely important for the prevention of ice dams during winter.
These ridge vents may not have existed with your old roof, but it’s a good idea to add them whenever you undertake a roof repair project. Last but not least, is the final cleanup and hauling all the debris away. It’s also a good idea to have the installation inspected and approved by a building inspector.
Together with 1-800-HANSONS, your home will have a new roof in no time. We offer great quality at affordable prices. Get your Free Estimate today!
More About
Roofing