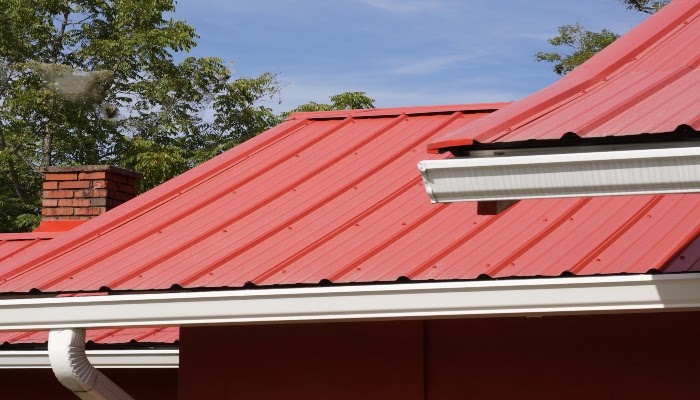
How to Shingle a Roof
Seventy-five percent of North American houses choose shingles for their roof installation. They can yield 85% of their costs in return on investment. Energy Star says an insulated roof can save thousands of dollars in HVAC costs each year, reducing peak cooling demand by an impressive 15%. If you have the right tools, a gently-sloping roof, and plenty of muscle, you can even install them yourself. However, we recommend contacting a professional roofing contractor for the job.
How to Start Shingling a Roof
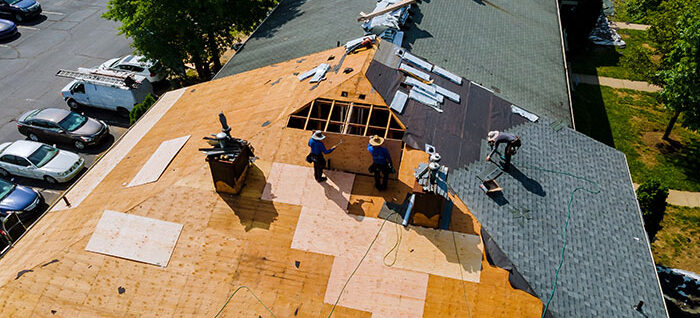
The first rule of roof shingling is “safety first.” Safety harnesses are a roofer’s number one tool for excellent reasons. Roofers experience a 51.5% fatal injury rate to every 100, 000 equivalent workers, and that’s with the right fall protection harnesses. Installing roof shingles without the correct safety equipment is like rock climbing without a harness. Don’t risk it.
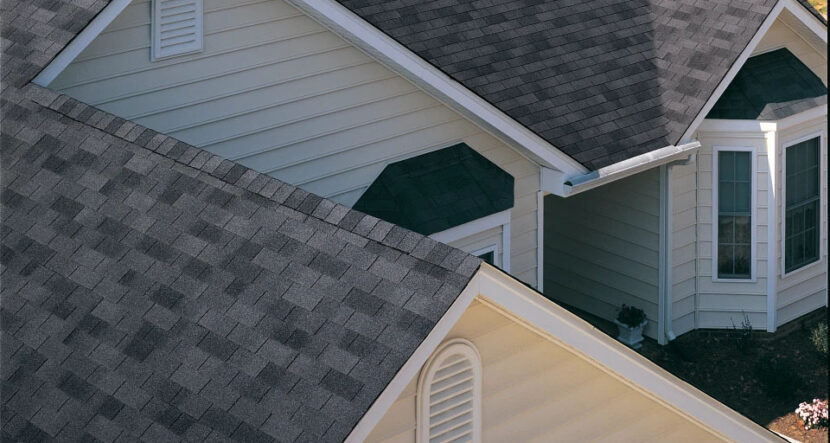
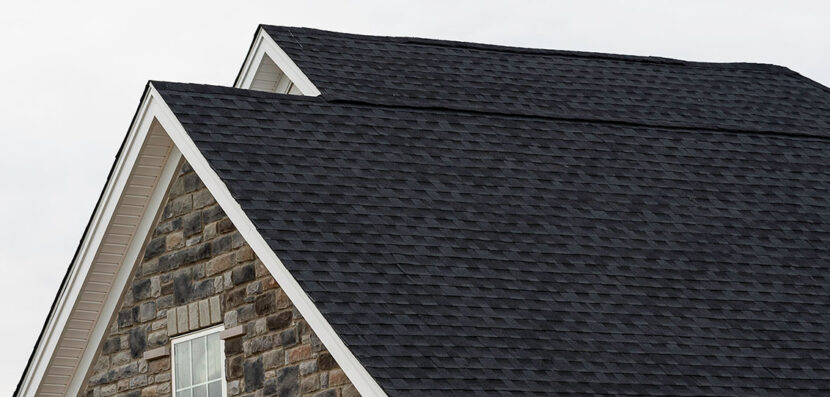
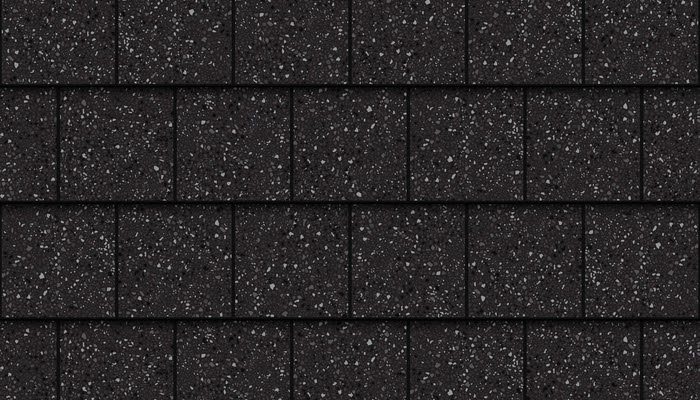
The second rule of roof shingling is “assess your materials.” Some components are easier to work with than others, so if you’re a beginner, it’s best to choose a large nailing area, easy bond, and undemanding design. Architectural shingle roofs are durable and easy to install, so they’re the product of choice for beginners. You’ll also need a nail gun, cutting blade, and pitchfork.
With those details out of the way, you can finally start laying your shingles.
The Steps for Shingling a Roof
Roof shingles are easier to lay than you might think. On a rudimentary level, shingling is comprised of seven roofing steps:
- Remove your old shingles with a pry bar and hammer
- Create a drip edge
- Replace rotting roofing
- Lay your felt
- Add waterproofing
- Install your shingles
- Add flashing
- Cap the shingles at the peak of your roof
- Seal exposed nails.
Remember that shingles are only as protective as their weakest seal, so every phase of the roofing process demands fastidious attention to detail.
How to Lay Shingles: The First Step
One of the most satisfying parts of the shingling process is removing old roofing, so haul out your power screwdriver and get started. This will expose your decking board, which may have been exposed to rotting. While you can certainly lay over degraded asphalt, your roof will punish you for it eventually, so while you’ll be cutting corners on a literal level, you should never do so on a figurative one. Once you’ve removed your roofing membrane, carefully sweep away the debris you’ve left behind.
Your new board needs a snug fit, so take 1/16th of an inch from your measurement. You needn’t cut your own materials. Your local lumber center will do it for you. Use galvanized decking screws on the corners and sides, then follow with tacked felt. Make sure you match the thickness of your new materials to those you’re leaving behind.
Your water membrane should overhang your eaves by about ¼ inches, extending to a minimum of 24 inches within the wall’s vertical extension. Aim for a flashing overlap of at least three inches, but don’t attach them to the vertical wall. Doing so won’t allow each flashing component to move and expand independently between the wall and roof deck.
If you’re laying out insulation board, it needs to be compatible with your shingles, but before you get started, you’ll need to unroll and nail your roofing felt in place. Nail your metal flashing before starting to place your insulation from the center line.
Use roofing nails to place several rows of panels, cutting as you go. A staggered seam will waterproof your home more efficiently. Now add silicone caulk to the borders where your foam will connect to your flashing. This will need to dry overnight before you lay your shingles.
How to Install Roof Shingles
Laying shingles is a lengthy and tedious process, but it’s also the easiest part of your roof installation. Roofing shingles waterproof your home by shedding water via gravity, so their overlap is the key to their efficiency. Starting at the bottom, lay out your starter shingles, which offer an adhesion point for your first layer of shingles. Starter strips provide wind resistance, so they need to be robustly installed.
Where Do You Nail Shingles?
Your warranty relies on the correct nail placement, so make sure you handle them well. They should penetrate the deck no more than an inch from the shingle’s edge. If you’re using a closed cut valley, each course will need to extend by about 12 inches, with about two inches cut from the back of the valley’s center. Now use ridge cap shingles to waterproof your roof ridge.
Your shingles will serve you for 15 to 100 years if well installed, so they aren’t a beginner’s, project. Professional installation will save you grief, damage, and broken bones, so call the pros and spend the time you save on more relaxing pursuits.
Need help with a roofing project? Click here for a free estimate from 1-800-HANSONS.
Get a Free Estimate Today
50% off installation. Special financing available. See details.
More About
Roofing