How to Convert a Bathtub into a Shower
If any renovation tops the aging-in-place market, it’s tub-to-shower conversions. Showers’ slick designs and accessible features are positively life changing, particularly if you have a disability. They make your bathroom more spacious and add an airier, more luscious aesthetic. They’ll also put an end to those morning bathroom wars you suffer through every day. Here are the steps for converting your bathtub into a shower.
The planning phase
Gloria Steinhem once said, “Without leaps of the imagination […] we lose the excitement of possibilities. Dreaming, after all, is a form of planning.” This is the moment to engage your imagination. You might not be able to afford your dream design, but you can certainly aim for it. Take a grand tour through décor blogs and showrooms until you know exactly the aesthetic you’re hoping to achieve. Discover which products inspire you. Explore your budget’s highest possibilities, because inspiration is the skeleton that will keep your planning upright.
Related: Best Bathroom Remodel Ideas
Gather your tools
A tub-to-shower conversion requires specialized tools, plumbing skills, and permits. You’ll need to add several tools to your DIY kit, including a:
- Cordless drill
- Caulk gun
- Reciprocating saw
- Prybar
- Basic plumbing kit.
In terms of materials, you’ll need:
- Construction adhesive
- A faucet set
- A prefabricated shower kit
- Silicone caulk.
If your toolkit upgrades are substantial, calculate the costs of a DIY job in comparison to a professional renovation. The difference could surprise you. It’s often cheaper to hire a professional than to take the DIY route, particularly if you have to invest in new tools.
Assess your bathroom layout
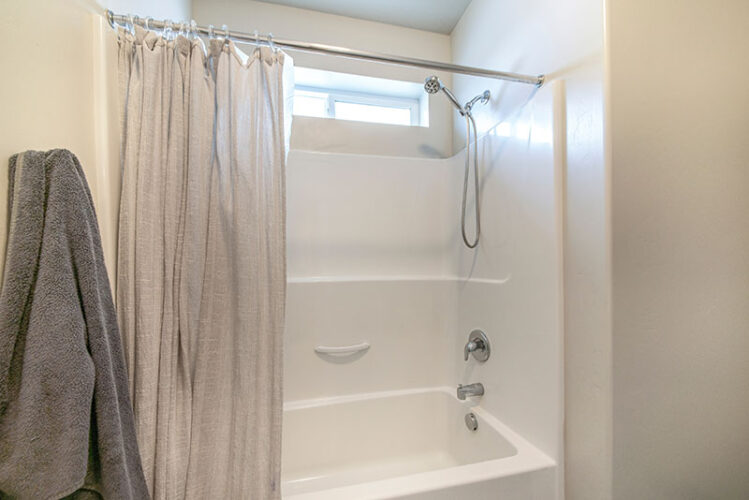
Without the input of designers and a construction team, you’ll need to manage your square footage and shower dimensions on your own. It’s time to haul out your measuring tape and establish how much of a footprint you can dedicate to your sparkling new shower.
Your shower size options are virtually infinite, but a typical shower takes up nine square feet. The International Residential Code allows a size as tiny as 30 inches X 30 inches. Your typical walk-in shower measures at least 60 inches X 30 inches. You’ll also require at least 24 inches of extra clearance at the front.
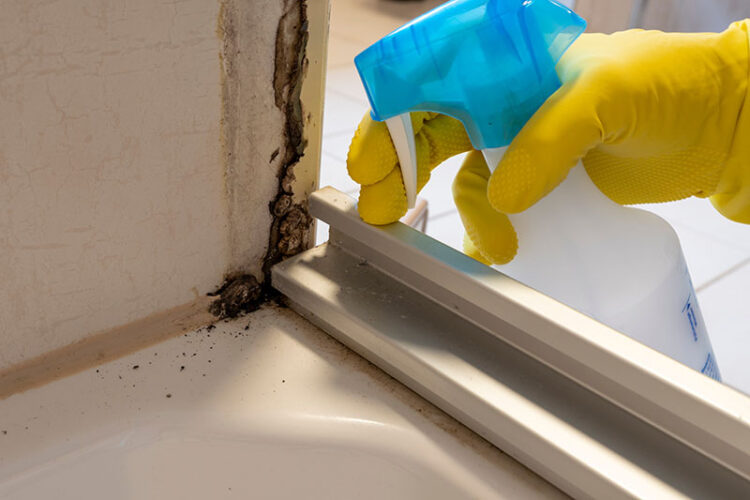
Consider your flooring and walls
You can’t perform a tub-to-shower conversion without breaking things, and your floor will probably be the first to go. If your existing tiles are easy to source, this shouldn’t pose much of a problem, but if your luck has run out, you’ll need to replace your entire floor treatment. Add this expense to your budget before you put on your toolbelt. Your budget should also include:
- Wall treatment replacements
- Plumbing fixtures
- Shower doors
- The cost of tub removal, including a truck for hauling
- Repairs and alterations to your bathroom layout
- The installation itself
- Your shower head and other accessories.
Obtain your permits
Any modification of your drainage lines and water supply requires a permit. You might also need a building permit to recreate your alcove walls. Permits vary between states and even cities, but you can find information on your local government website.
How to add a showerhead to your tub
The apparent simplicity of this form of conversion places it at the top of the list for terrified DIY-enthusiasts. Many a homeowner has been stymied by this kind of conversion, though. It requires you to demolish the wet wall and replace the plumbing array. You’ll need to remove the existing faucet valve and replace it with a riser and shower head.
Once your array is in place, you’ll need to recreate and retile the wet wall. Adding a handheld shower is a little simpler because the spray head can be mounted to brackets. It’s certainly easier than a custom design, but you’ll need to bring a few plumbing skills to the task.
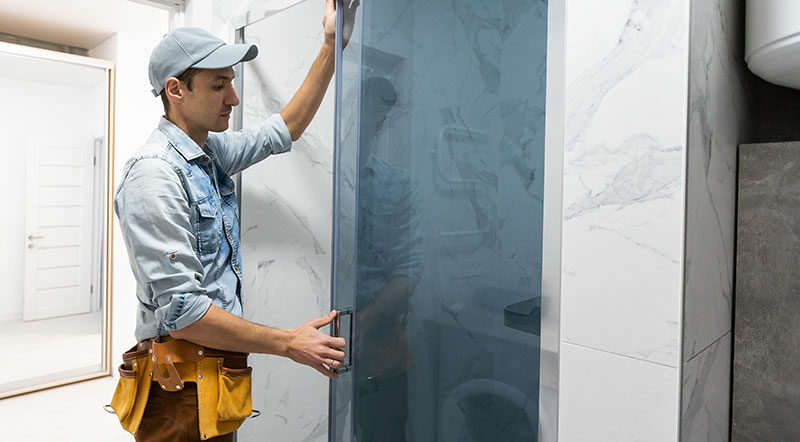
How to build a prefabricated shower
A prefabricated shower arrives with all the required materials, but it requires extensive work. First, you’ll need to install a waterproofed wall board, which should be coated with latex primer. Your stall will need to align with your drain and faucet, so mark out your measurements before you begin drilling. When you’re ready to place the stall, use a level to check your unit.
You can now install your shower, starting with plaster and adhesive. Make sure your drain and faucet holes line up with your installation, then connect the flanges. Once your new shower is in place, you can caulk the drain lip and fixtures. Now take a tea break. You deserve it.
DIY work might seem fun until you’re replacing a poorly-levelled floor for the third time that day. A tub-to-shower conversion is an advanced project, but if you can carry it off, it might save you precious dollars that are better spent elsewhere.
Need help with a bathtub or shower replacement? Contact 1-800-HANSONS for a free estimate.
Related Articles:
Signs it’s Time to Replace Your Shower
Signs it’s Time to Replace Your Bathtub
Get a Free Estimate Today
50% off installation. Special financing available. See details.
More About
Baths