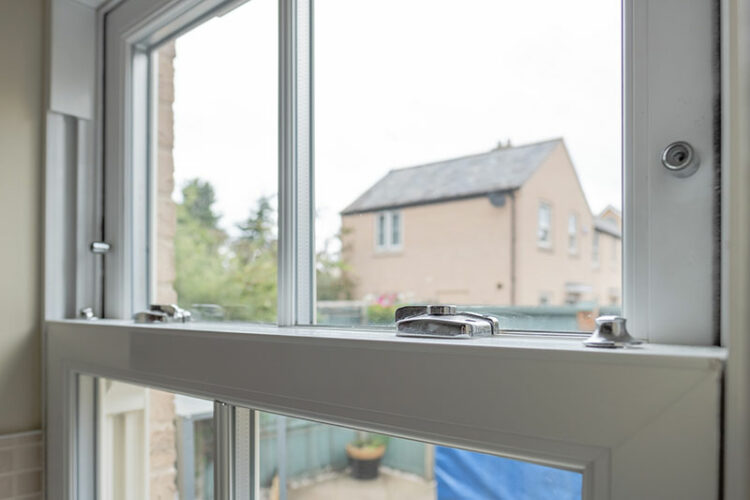
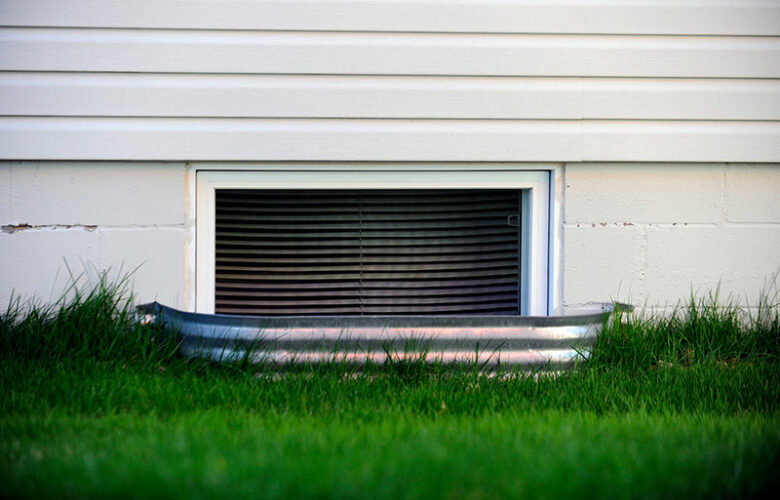
Slider Window Installation

A slider window installation is no simple task. Horizontal slider windows open with the sash moving from left or right. It can be easier to open and close than a standard window. They are an ideal choice for rooms facing walkways or patios.
Installing an aluminum sliding window is a relatively easy DIY project. While these windows are not seen as often anymore, they can still be used in garages, attics, and similar buildings. The installation requires only a few tools.
Step 1: prepare window opening
Before putting the window into position, you must check that the opening is prepared for the window. The window frame must be straight, and in accordance with the dimensions of the window, you are installing. A little bit of variance is acceptable since you can level the window use shims.
Get a Free Estimate Today
60% off installation. Special financing available. See details.
Step 2: place window into opening
When the opening is ready for the window, you can then place the window into position. Put a bead of caulking around the whole perimeter of the window opening. Pull the window into the position. Fix it in place with a few nails to keep the window straight so you can level and secure it. Make sure that the window is in the middle of the opening.
Step 3: level window
Put a small level on the window sill vertically. If the window is off level, you need to make necessary adjustments with wooden shims. They should be placed on the exterior of the building where you are installing the window. Put the shims in; the thicker side should be facing out. You can put shims on the top or bottom of the window if you need it. Put the shims in the corners to have better control over the level. When the vertical axis is in level, you can work on the horizontal one.
Step 4: set window into position
Now, you can set the window securely into position. Put galvanized nails into the sides of the frame that already have holes for them. After each pin check again, if the window is in level. Once the window is secure, pull out the toe-nailed brace nails.
Step 5: stuff insulation
Next, take small bits of insulation and put them into the cracks around the frame. You can also use a little bit of the foam insulation, but you have to be careful since the foam insulation expands when you release it from the can. If you release too much, it can move the window or the frame.
Step 6: install trim pieces
With the window installed, you can add a small quarter round or some other trim pieces around the window for a more beautiful look. Cut the pieces so that they can fit around the perimeter and then secure them with finish nails. Then use small dabs of wood putty to hide the nails. Paint the trim to the matching color and enjoy your new beautiful window.
Do you need help installing a slider window? We can help! Schedule a free estimate here.


