How to Install & Replace Your Casement Window

These stunning windows look great on almost any type of home. They are easily recognizable by the cranks used to open and close them.
Even though they look better than many other windows, their replacement is similar to that of all other windows. Let’s take a look at what you need and how to do the replacement.
The things you need
First of all, you need the necessary skills. Depending on the type of casement windows you will be using, different levels of abilities may be required.
- For full-frame replacement windows, you will need a more advanced skillset because the process is moderately complex. We advise you to hire a professional if you have no experience with window replacement.
- For insert replacement windows, you don’t need advanced skills, as these are relatively simple to install.
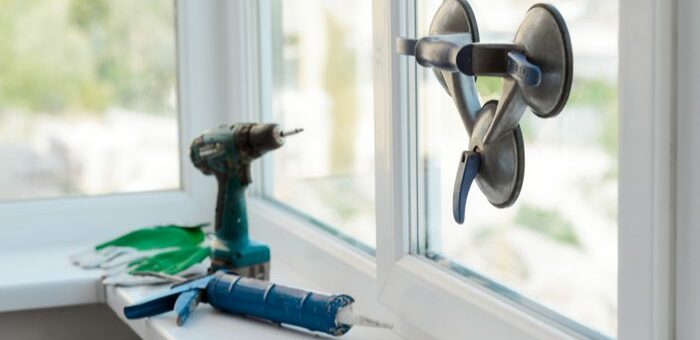
Besides the right skills, you need to have the right tools. The right tools depend on each specific project, but in general, you will need:
- Safety glasses
- Waterproof shims
- Caulk gun
- Gasket sealing tape
- A level
- Hammer
- Screwdriver
- Power drill or a power driver
- Putty knife and a utility knife
- A small pry bar
Casement windows can be made out of metal or vinyl, and there is also a dual-pane model for energy efficiency. Casement window installation is similar to other windows.
The difference between a casement window vs. other windows is that the hinges are always attached to the side of the frame. These windows can usually be found in older buildings, but they can still be a nice addition to any building. They are produced in various materials and can be opened by hand by the use of a crank. Here is a step-by-step instruction to install a casement window.
We will assume that there is already a hole in the wall where you plan to install the window and that it has been adequately measured. You also need to buy the correct window. You will also need to purchase all necessary hardware, such as crank mechanism, screw, hinges, and lock.
Step 1: make opening watertight
It is essential that your opening is watertight. You do not want any rain to get between the wall and the window. From the outside, use an aluminum tape or a water seal gasket to seal the opening. Roll out the material, and start from the bottom sill. Fix it both on top as well as under the sill, and make sure to leave no gaps. Proceed with the sides, and ensure it is tightly sealed.
Your new shingles will go over the top of this, so make sure to extend out on the side and bottom. Make perfect corners, and cut and fold the excess. Finish at the top.
Step 2: level opening
To make sure that the wall opening is level, use your bubble level on the bottom sill. If it isn’t, raise one side with a small shim.
Step 3: place window in opening
The new window will be fixed with a so-called nailing flange. If it’s not already bent, you will have to turn it to a 90-degree angle. That way, when the window is installed, the nailing flange will be flush with the wall. Now it is time to lift the window open.
With the help of another worker, lift the window into the frame and fit it snugly. Make sure the shim hasn’t moved.
Step 4: nail the window
Starting from at the top, hammer a nail into the center hole, then put a pin in every other hole. Make sure your window is still level. If it is, continue putting nails in the rest of the holes in the nailing flange.
Step 5: additional water seal
Put more gasket or aluminum tape over the top nailing flange that helps to ensure that there won’t be any leakage from the top.
Step 6: interior installation
First, you will need to build the casing. Then, you can install all the window hardware.
Step 7: finish work
Now that your window is installed, all that you have to do is finish work. Inside, you will have to hang molding and paint the casing and the molding as necessary. Outside you will have to install a new sill and window frame. Make sure to caulk all openings as further security against leakage.
In the end, replace any siding or shingles that were removed.
Do you need help with a casement window installation? We can help. Schedule a free estimate here.
Get a Free Estimate Today
60% off installation. Special financing available. See details.


