Bay Window Installation

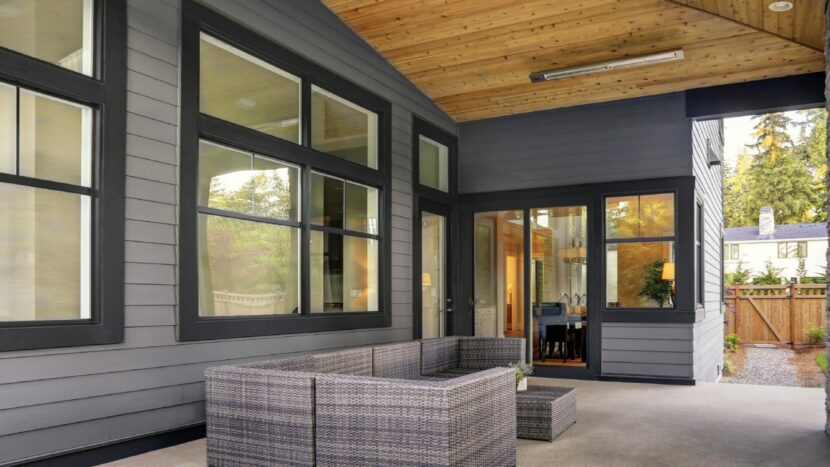
A bay window is great for plants, making a book-nook, or just brightening up space. It will give your room a spacious feel while updating the look of the whole house.
Building the roof
It’s essential to build the roof first. The whole roof is then placed on top of the window. The procedure for building the roof consists of several steps:
- First, you need to make a template for the base,
- Then, from the template, make a rafter nailer
- Then lay out and fasten the common rafter,
- Then do the same with the hip rafters.
- After you have fastened the hip rafters, it’s time for the jack rafters to go in.
- The last step of the process is laying out and cutting the sheathing.
Now that you’re finished with a hip roof, let’s see how to install the window and integrate it into the wall.
- First, you should set up two levels of scaffolding. This will make the installation process easier. You should stand on the first level while working. The second should be placed above the first but under the bottom of the rough opening, because it should help support the window while it’s being installed.
Next Steps
Pretty much any type of scaffolding would do, but you can use basic wooden A-frames because they have multiple rungs, which make it easy to get the window and the platform at the right heights.
- Next, you should pull off enough siding so that you can flash the opening and place the new window into the weather-resistive barrier. It’s easier to do all this before the window is installed because it will restrict access to the siding.
- Patch the missing and damaged pieces of felt paper with house wrap and secure the sides of the opening with flashing tape. This will seal the vertical seams better. Cover the rough sill with flexible flashing, since starting from the bottom up guarantees proper laps.
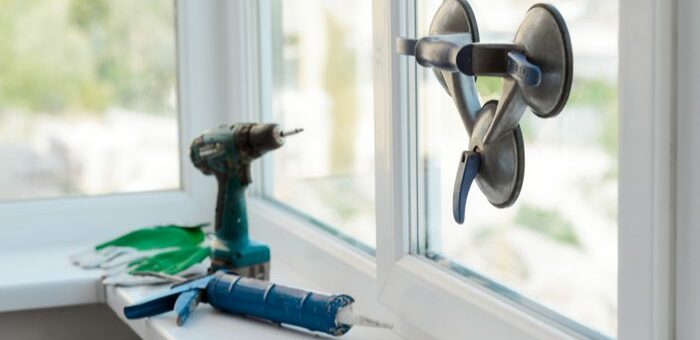
- Keep in mind that bay windows are heavy. Therefore, you will need a second carpenter. Before you carry the window to the staging, make sure to remove the operating sashes so that the window is lighter and easier to handle.
- Also, keep some shims and plywood scraps handy so that you can use them to place the window on the staging once you position it in front of the opening.
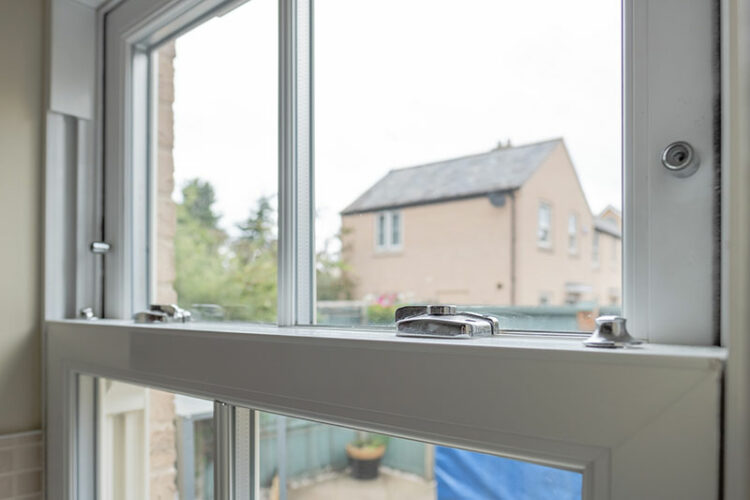
- Set the window on the lower level of staging first and then lift it up. Climb the window onto the upper level of staging and move it into the rough opening. Level the window using the plywood scraps on the stage. While the other carpenter steadies the window, go inside and fasten it with a few screws. Then when It’s is stable, reinstall and lock the sashes to make sure that the window stays square while you’re fastening it.
Do you need help installing a bay window? We can help. Schedule a free window estimate here.
Get a Free Estimate Today
50% off installation. Special financing available. See details.
More About
Windows