Replacement Window Installation
What are the steps required for replacing your home's windows? Learn what to expect with our window installation guide.
50% off installation
Special financing available. See details
Replacing an old window with a new one will only take a few hours. It will be faster if you leave that to the professionals, but if you plan on doing it yourself, it can save you money, or you may end up spending more — depending on your level of experience or skills on home improvements.
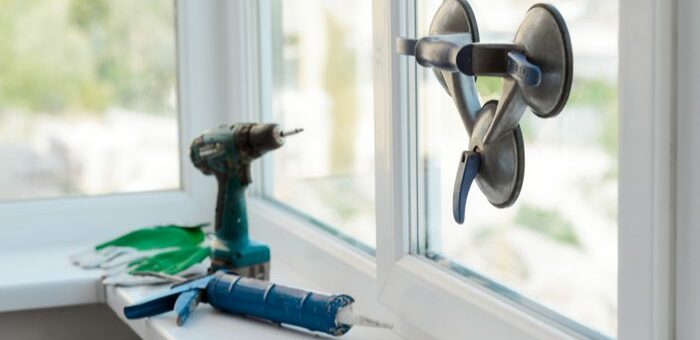
Listed below are a few tools and materials that you need for a window replacement installation:
- Level
- Tape Measure
- Screwdrivers, hammer, drill, pliers
- Caulk & gun
- Pry Bar
- Hacksaw or Sawzall
- Insulation
- Safety Glasses & gloves
Reasons to Replace Your Old Windows
Here are a few common reasons:
- An increase in your bills may indicate that drafts caused by old windows have allowed cold air to come in during the winters and hot air to stay in during the summers.
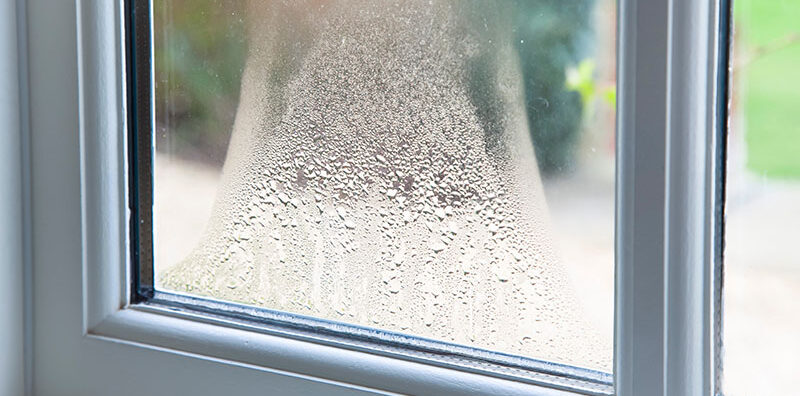
- Broken windows can lead to moisture and water build-up. These may lead to mold and damages to your roof. Wood rot and deterioration can also extend to all the parts of your house.
- You will be surprised how much replacing your old windows with newer ones can reduce the noise coming from outside.
- Replacing your old windows will extend the life of your heating units and air conditioning system.
- Creaking windows may be a sign that they are slowly falling apart and could cause injuries.
- Newer windows are easier to clean and operate.
- Old windows can no longer protect your home from UV sun damage that can cause fading of your furniture and carpets.
- Insect infestations such as ants and termites can crawl in through window cracks and can destroy your windows. You will need more than just window replacements if these problems have become uncontrollable.
- The windows that came with the house may not be appealing to you, and you want a window look redo.
- If you plan on putting your home up for sale, new windows are a significant investment, and they will add tremendous value to your house and give it that added curb appeal.
How to Replace a Window
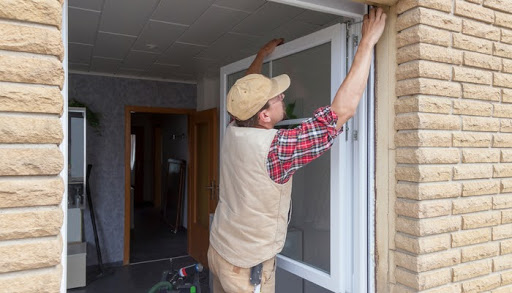
- Start by removing the trims, old cords, and weights.
- Remove and dispose of the bottom wood sash.
- Next, remove the balance system of the window sash.
- Remove the parting stops on the sides and top of the windows.
- Now remove and dispose of the top window sash.
- After cleaning the area, the new window is ready to be installed.
How to Remove a Window
There are three ways of removing aluminum or vinyl windows. The first one:
- Remove the bottom sash by raising and tilting them inward.
- Raise one side higher to release the pivot bar
- Set aside the pivot bar and start removing the glazing strips on the top
- Pry the glass out using a knife and dispose
The second way:
- Raise the button until the square block, and tackle balances are revealed.
- Remove the screws that are holding the top sashes in place.
- Pull down and move the sash, and open it like a door to remove it from the frame.
And the third:
- Place a ½” or ¾” block of wood after removing the sash or glass.
- Use a hammer or pry bar to separate the base from the window.
- Once the frame has collapsed inward, use a hacksaw or Sawzall to cut through the frame. Repeat with the other frames.
- Pry the top frame down
- Remove aluminum frame
After which, you can clean and add insulation and use weather flashing tape to seal openings where air or water may enter.
How to Measure a Window
- Start by measuring the height and width where the replacement window will be placed.
- To get exact measurements, measure the heights from the left, the middle, and then the right side.
- Measure the same with the widths (top, middle, then bottom)
- When ordering your replacement windows, order using the smallest measurement. It will be easier to sand down excess material.
Learn more about measuring windows here.
How to Install a Window
- Before replacing the new replacement windows, clean the area where they will be installed.
- Apply flashing tape on the window sill. Press it carefully to make sure that it sticks well on the sill’s entire length and extends it to the window’s interior’s bottom ledge.
- Make sure that the installed flashing tape is level and secure them with screws to prevent movement.
- The new replacement windows will need to be dry-fit to the opening.
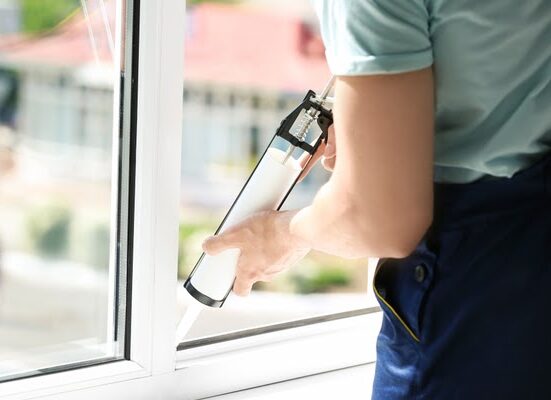
- Use silicone to caulk the window frame. The caulk will prevent cold air from coming in and allow heat to escape.
- Carefully place the window in the opening. First, start by placing it against the interior and pressing it securely against the caulk.
- At this point, the sashes should sit evenly on the frame.
- Ensure the windows are even before adding insulation from the outside. For larger gaps, fill them with weather strips. These will ensure that your replacement windows will be airtight and waterproof.
- Next, you will need to measure the height of the bottom of the window to the sill. You will do this to get the size for the sill adapter.
- Then cut the sill adapter to the measured width using a knife.
- You will need to drill holes to help the water to drain. These are drilled at the bottom of the adapter, and then they are locked onto the replacement windows.
- Around the window frame, you will also need to install an exterior trim. You will be using finish nails to set them and prevent them from denting. Use a latex caulk to seal the trim’s edges and make sure not to cover the weep holes in the process—cover unsightly nail holes with wood putty.
- Paint the trim to cover any imperfections.
- Now apply the latex caulk to the interior trim.
- Finally, your window replacement installation is complete!
Are you thinking about replacing your windows? Feel free to contact 1-800-HANSONS for a free estimate.
Related Window Information:
Types of window frames
Window maintenance
Types of window glass
Why 1-800-HANSONS?


Ready to get started?
We’re ready to help transform your home with durable, energy-efficient products that can help protect your home, improve your comfort and save you money.
Our consultation includes:
- Inspecting your home and gathering precise measurements
- Displaying our best-in-class products and design options for you to choose from
- Providing an immediate estimate and finance options to fit your budget

Enter today for a chance to win a $50,000 home exterior makeover!
50% off installation. Special financing available.
Labor Only. Roofing and siding are priced by the square. This offer is not combinable with other offers/promotions, may be withdrawn without notice, and prior sales are excluded. You must purchase by 4/30/25 to qualify for the special offer. The Lifetime Guarantee applies to roofing, siding, windows, and gutters. Bathtubs and showers offer a no-leak guarantee. Visit www.hansons.com/licenses/ for current contractor license information. Other restrictions may apply.
Disclosure: GreenSky® program consumer loans are made by Synovus Bank, Member FDIC, NMLS #408043, without regard to age, race, color, religion, national origin, gender, disability, or familial status. GreenSky Servicing, LLC (“GSS”, NMLS #1416362, www.nmlsconsumeraccess.org) is a financial technology company that manages the GreenSky® program by supporting originations and servicing the loans on behalf of banks and other financial institutions that make or hold program loans. GreenSky® is a registered trademark of GreenSky, LLC and is licensed to banks and other financial institutions for their use in connection with the GreenSky® program. GreenSky LLC and GSS are not lenders. All credit decisions and loan terms are determined by program lenders.


